Zoom
Zoom is the official virtual conferencing platform for all staff and faculty. Students are able to join meetings and lectures scheduled on Zoom and do not require an account. Review the following topics below on how to perform some of Zoom’s common functions.
- Logging in for the first time
- Schedule a meeting within Moodle
- Schedule a meeting within Outlook
- Schedule a meeting from the Zoom website
- Waiting Rooms
- Sharing Your Screen
- Sharing a Whiteboard
- Sharing a Recording
- Breakout Rooms
- Recording a Meeting
- Avoid Zoom Bombing
- Adding Live Transcription
Logging in For the First Time
- Navigate to https://trinitydc-edu.zoom.us.
- Click Sign In.
- Confirm your email address, if prompted.
- Look for the confirmation email in your Trinity mailbox. If you’ve previously signed up for Zoom with your Trinity email, you will be asked to confirm joining Trinity Washington University’s Zoom account. Click Switch to the new account, and then I Acknowledge and Switch.
- Try signing into https://trinitydc-edu.zoom.us again.
Schedule a meeting within Moodle
- Open your course page.
- Click on the Turn Editing On button.
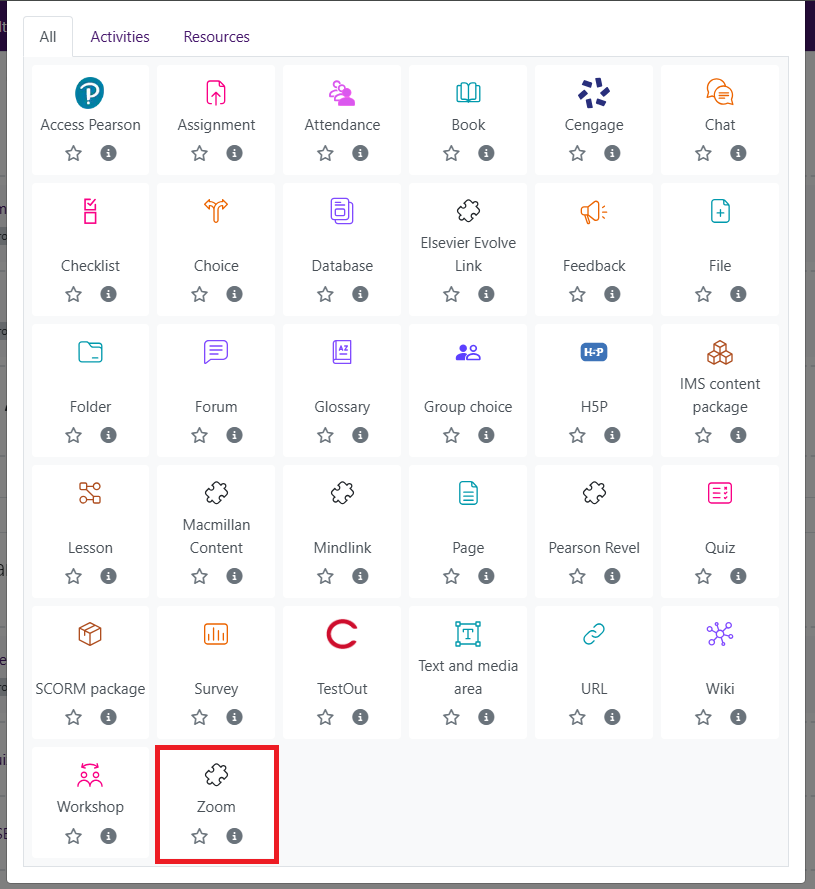
- Under the Welcome section, click on the + button and then select Activity or resource.
- Scroll down and select Zoom.
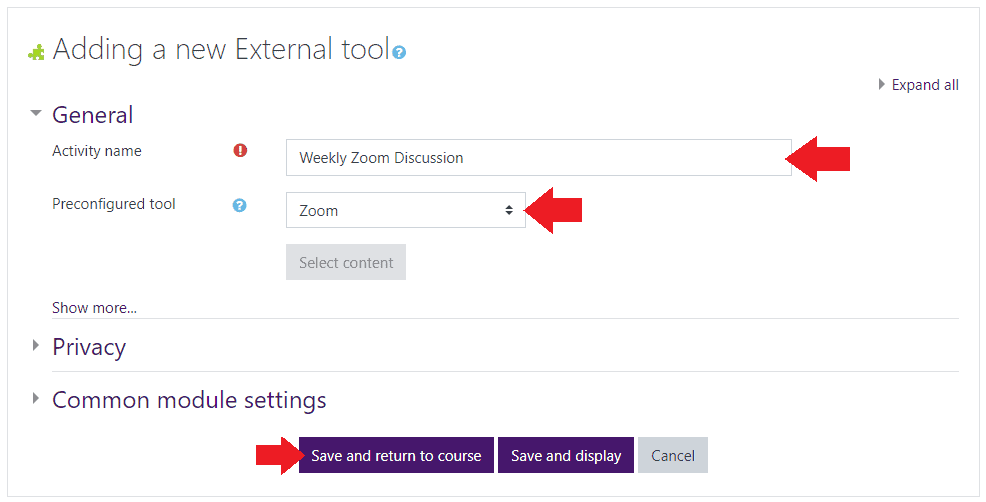
- Give your Zoom activity a name, then click Save and return to course.
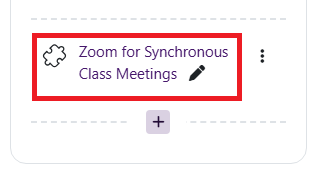
- Back at your course homepage, click on the Zoom activity you just created from the previous systems.
- If you see an error message saying User does not exist, you need to activate your Zoom account first! Follow instructions on Logging in For the First Time.
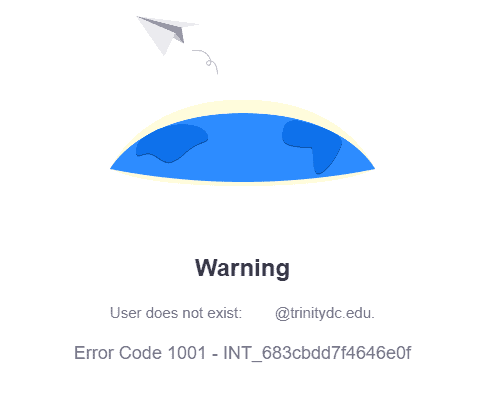
- If you see an error message saying User does not exist, you need to activate your Zoom account first! Follow instructions on Logging in For the First Time.
- Click Schedule a New Meeting.

- Fill in the meeting details and click Save. We do not recommend enabling “only authenticated users can join meetings,” as this may prevent students from joining your meeting.
When students log into Moodle, they will see the activity with your upcoming Zoom meeting.
Schedule a meeting within Outlook
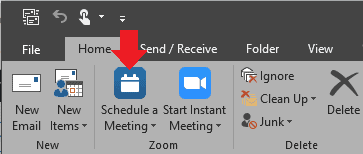
- From Outlook, click Schedule a Meeting.
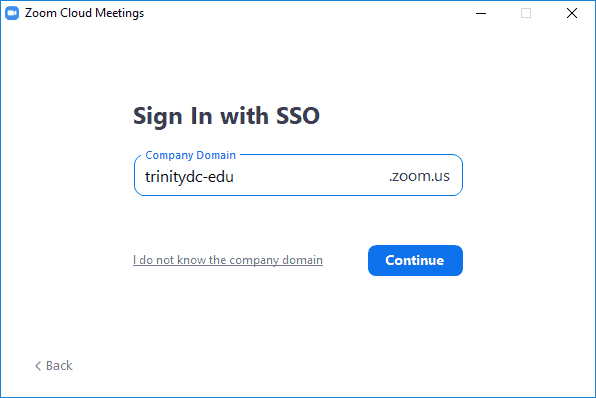
- If you see a login screen, click Sign in with SSO.

- When asked for for the Company Domain, input trinitydc-edu, and click Continue.
- You’ll be redirected to a Trinity login. Login with your Trinity password.
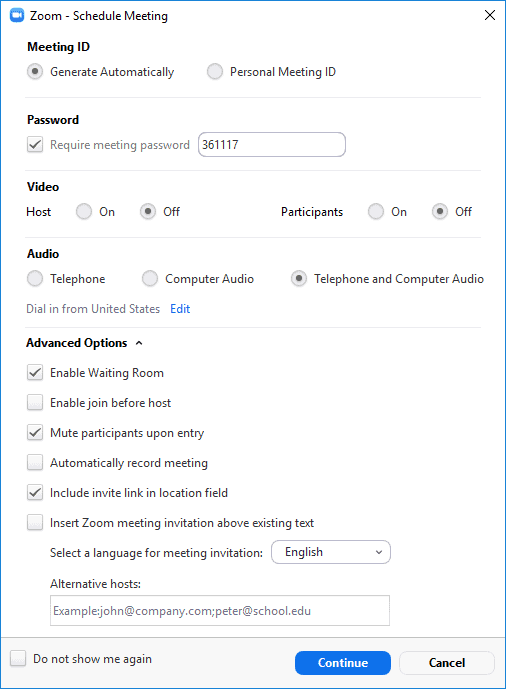
- Configure your meeting settings and click Continue. We do not recommend enabling “only authenticated users can join meetings,” as this may prevent students from joining your meeting.
- Complete the meeting by emailing it to your participants.
Schedule a meeting from the Zoom website
- Navigate to https://trinitydc-edu.zoom.us.
- Click Sign in, and login with your Trinity password.
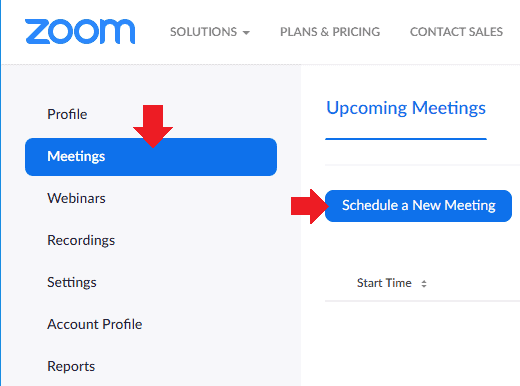
- Click Meetings > Schedule a New meeting.
- Configure your meeting’s settings and click Save.
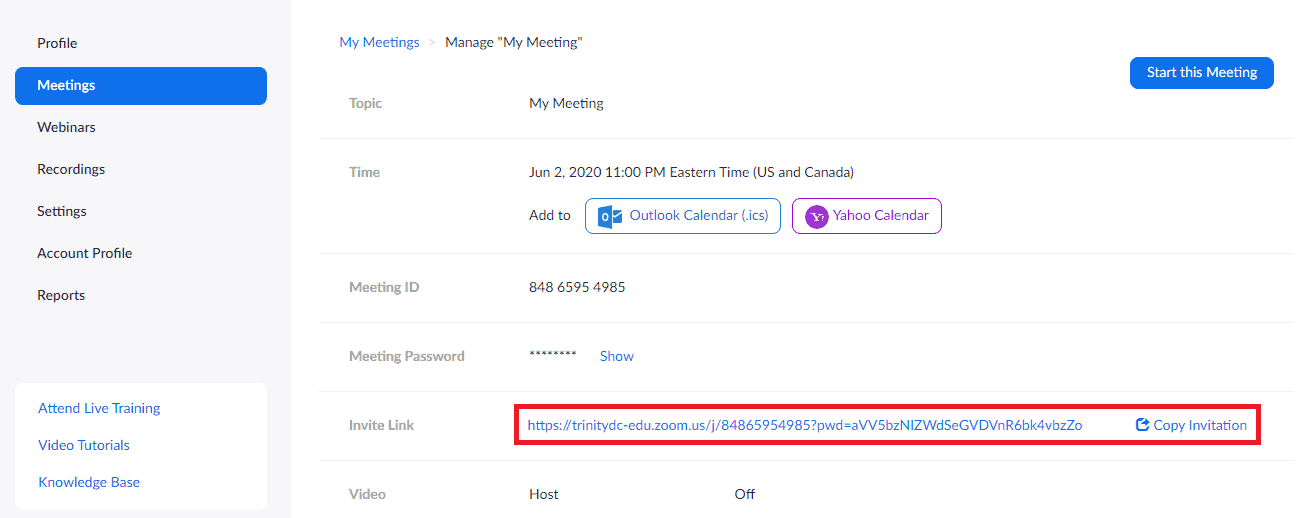
- Click Copy Invitation and distribute it to your meeting attendees.
Waiting Rooms
Waiting Rooms allows you to screen attendees before they actually join your meeting. You can admit or remove attendees in the waiting room. See how to use waiting rooms.
Sharing Your Screen
Sharing your screen allows meeting participants to see content that you’ve shared, such as a video or presentation. See how to share your screen.
Sharing a Whiteboard
The whiteboard feature allows you to create a virtual whiteboard where you can make notes, draw and make other types of annotations. See how to share a whiteboard.
Sharing a Recording
These steps will illustrate how to securely share a cloud hosted video with someone else.
- In your meeting, record it to the cloud. Recordings are only available for 90 days. Be sure to download it on to your computer if you need it longer than 90 days.
- After the meeting has concluded, you’ll receive an email stating that your cloud recording is ready to be accessed. It may take several minutes so be patient.
- Log in to Trinity’s Zoom website: https://trinitydc-edu.zoom.us/
- Click on Recordings on the left-side of the webpage.
- On the right-side of your recording, click on Share.

- Select from the Who Can View option to control access to the video. If you are a healthcare practitioner or counseling student with Zoom access, you’ll only have the option to share with specific people. It cannot be changed.
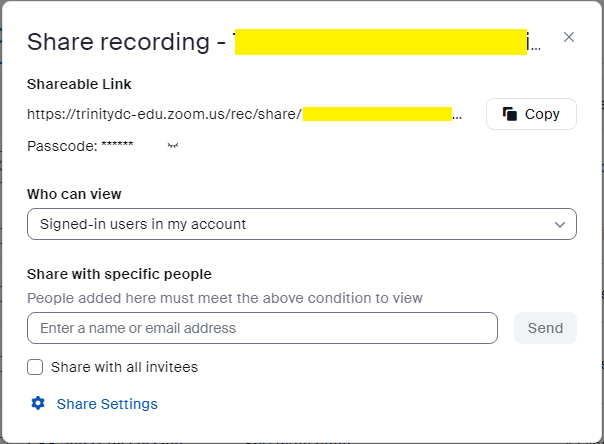
- Click Send and the recipients will receive an email with a secure link to access your video, or copy to obtain a shareable link.
Breakout Rooms
Breakout rooms allow you to split your Zoom meeting in up to 50 separate sessions. The meeting host can choose to split the participants of the meeting into these separate sessions automatically or manually, and can switch between sessions at any time. See how to set up breakout rooms.
Recording a Meeting
Technology Services does not recommend recording to your local computer unless it has adequate memory and is fast enough able to complete post-meeting conversion processes.
For ease of use, we recommend recording it to the cloud. Follow these instructions to record your meeting to the cloud. When your meeting has finished, you will automatically receive an email with details how to view and share your recording.
Recordings to the cloud are automatically deleted after 90 days. If you need to retain your recording more than 90 days, be sure to download it.
Avoid Zoom Bombing
Zoom Bombing is where unwanted persons with nothing better but “crash” into meetings, anonymously, and post graphic or lewd content to disrupt your online class. Don’t be a victim of Zoom Bombing by following these best practices to secure your meeting:
- Don’t post your Zoom meeting URL on public websites, including Twitter.
- Use passcodes for online meetings.
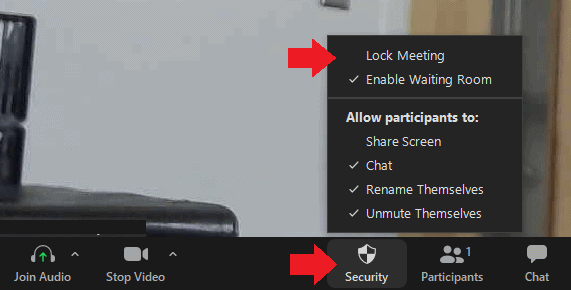
- Use Waiting Rooms to pre-screen attendees before they join your meeting. You can toggle this when you schedule a meeting or during a meeting.
- Lock your meeting after all your attendees have joined. Click Security > Lock Meeting. When locked, no one else can join!
- Remove unwanted participants by clicking the Participants button. In the list of participants, right-click the person to remove and select More -> Remove.
- Schedule online lectures through Moodle so it appears as an activity, which minimizes chances of it being shared outside of Moodle.
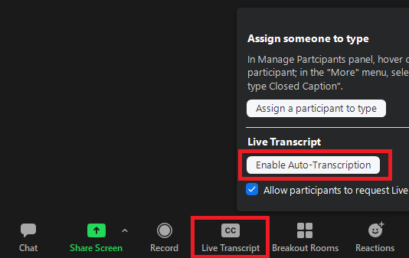
Live Transcription
Live transcription is a feature that will automatically transcribe any speech into text.
- Within your meeting, click the Live Transcript (CC) button.
- Click Enable Auto-Transcription.