How do I add questions directly to the Question Bank in Moodle?
Instead of adding questions through the ‘Edit quiz’ page of the Quiz activity, you can add questions directly to your Question Bank and then add the selected questions to each individual Quiz activity from the Question Bank.
To get questions into the Question Bank, you can either import existing questions or add questions individually.
Importing Quiz Questions into the Question Bank
Importing requires that your questions are formatted EXACTLY how Moodle requires. If you exporting your questions from a publisher’s question bank to then import into Moodle, there are a great number of steps. You can find the processes for two common imports here:
- How do I import a test bank from Cengage into Moodle? [Moodle version 3.2]
- How do I import a test bank from Evolve Elsevier into Moodle? [Moodle version 3.4]
You can find more information about formatting questions for import in the ‘Question Bank‘ section of the ‘Moodle Quizzes for Faculty‘ resource course in Moodle. (If you are a faculty member and do not have access to this course, once you have logged into Moodle, please contact Moodle Support for enrollment.)
Adding Questions to the Question Bank Manually
If you are not importing questions, you will likely want to add categories to help you separate the questions into easily located segments. (If you import, the categories often come with the imported questions automatically.)
Please note: if you are planning on using the Random Question feature, then you will definitely need categories or Moodle will choose a question from the entire bank.
FAQ: How do I create Question Bank Categories?
Once you have create the appropriate categories, you can create questions directly in those categories.
Note: you can click on any image to view a larger version of the image.
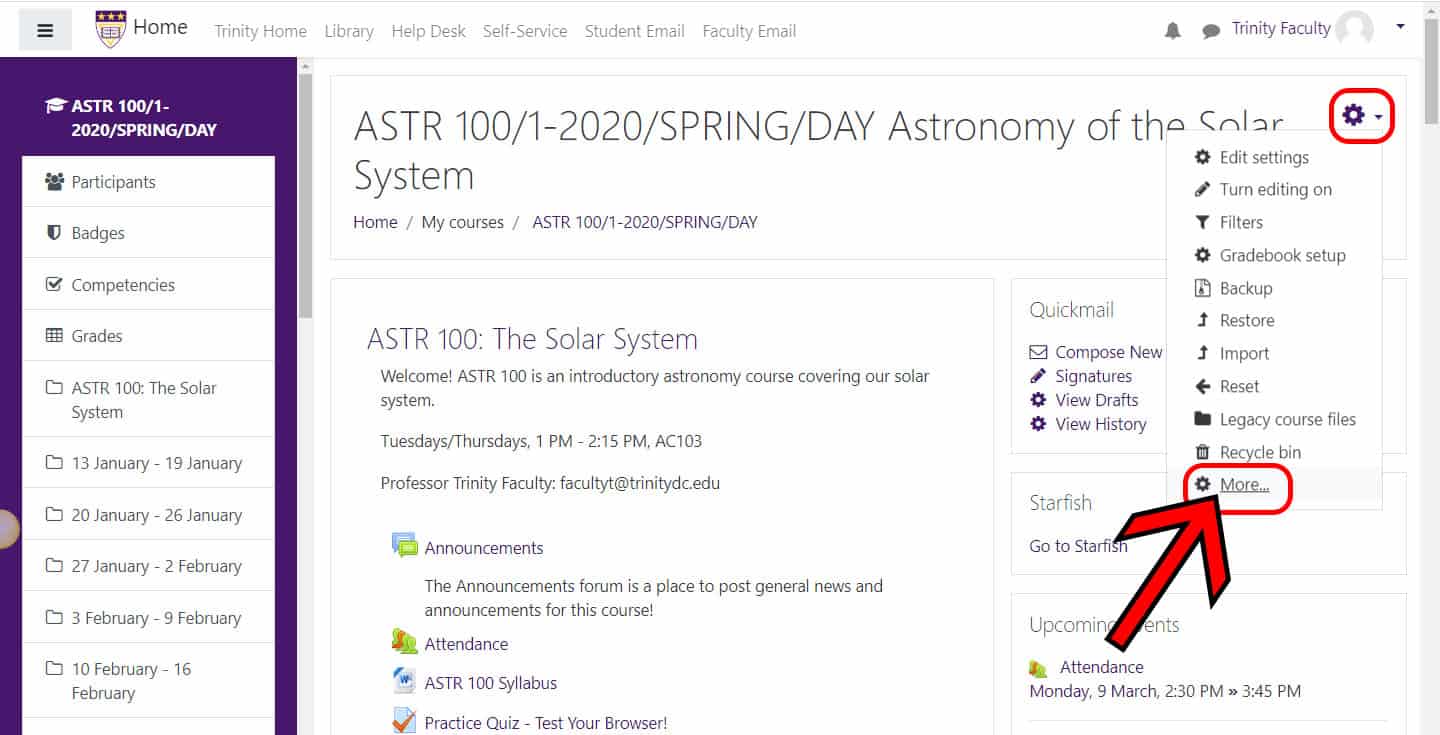
- From the main page of your course, click on the gearwheel in the upper right corner.
- Scroll down to the bottom of the drop-down menu, and click the “More…” option.
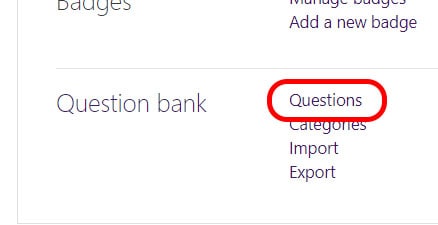
- Scroll down and under the “Question bank” section, click on “Questions.”
If you have just created a category in your Question Bank, simply click on the “Questions” tab to move to correct spot in the Question Bank.

- Once you are in the “Question” tab in the “Question bank,” select the category into which you wish to create the question. If you want to create a category first, you can explore this FAQ on adding categories to your Question Bank.
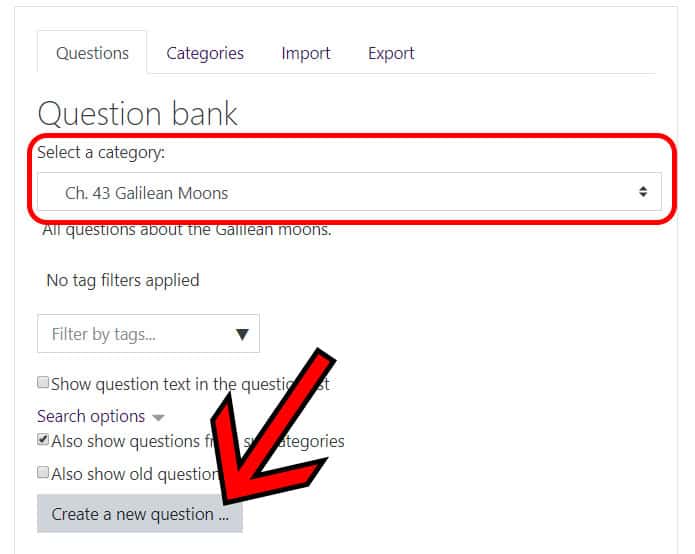
- Once you have selected or verified the category, click the “Create a new question…” button at the bottom.
- In the pop-up window, select the question type you wish to create. Following are the steps for a True/False question type.
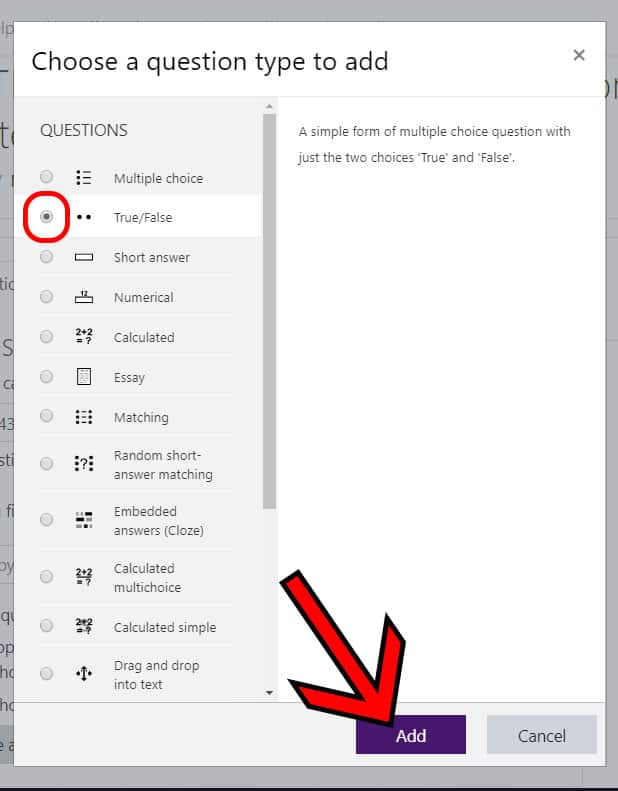
- Scroll down and click the “Add” button.
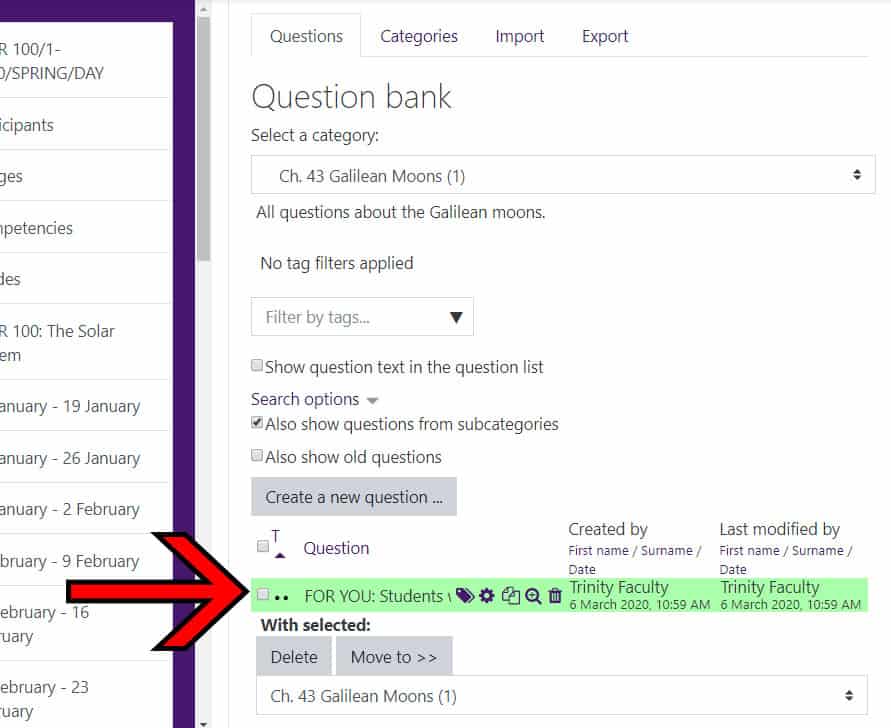
- Complete the “Question name” field. This is for you; the students do not see this field. It is so you can easily locate and reuse the question. If you do not know what to put, consider the chapter or topic.
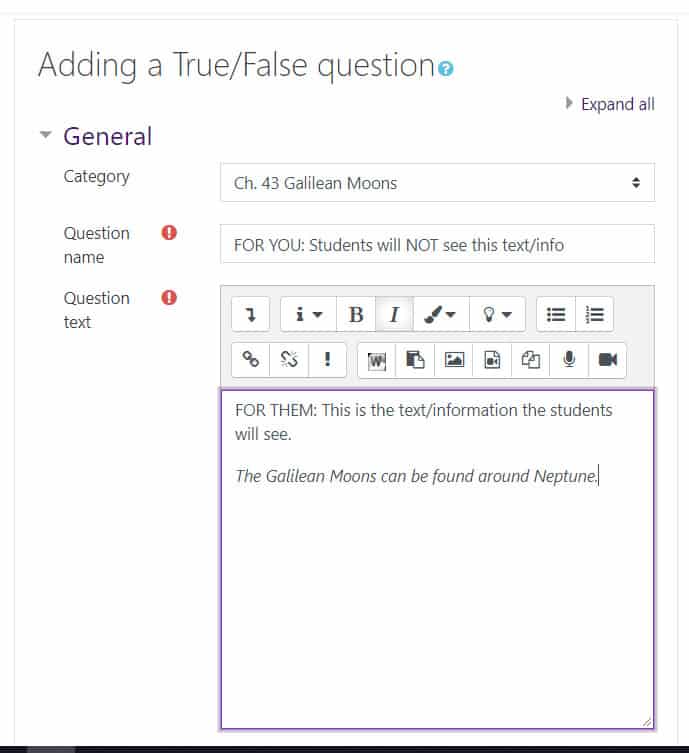
- Complete the “Question text” field. This field is for the students’ this is the content they will see as the questions posed to them.
- For a T/F question, you can then indicate which is correct, and provide automatic feedback for the students, if you wish. (You control when the students see the feedback in the “Review options” of the settings page for the quiz activity. This is also how you can control when students can see their quiz grades.)
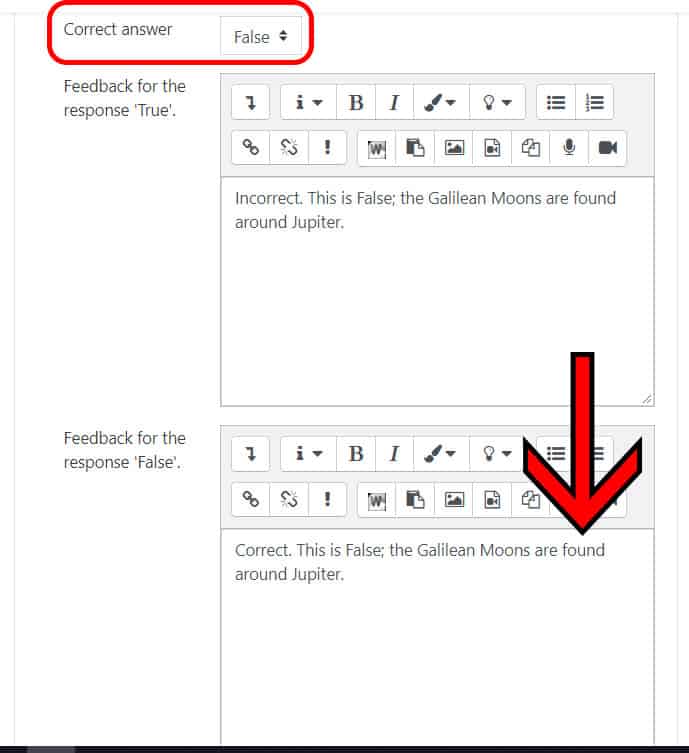
- Scroll down and click the “Save changes” button. This will return you to the question tab. You’ll see your question listed in the category now.